Thursday, March 17, 2011

Crib/Toddler sheet

Today's first project- Crib/Toddler sheet

Merrick's 1 and only sheet ripped a few weeks ago. It didn't seem like a big deal cause i can always wrap the mattress in a blanket, and then he started camping out on the floor. But i figured it was time to get him back up on the bed (especially since i'm trying to get the room cleaned & ready for the new addition). So today i made him a new sheet. He helped me pick out the fabric. I see lots more sheet making in my future. Just wish it didn't take quite so long to thread the elastic all the way around the sheet. Oh well, it gave me some time to play Cafe World on facebook. LOL!

I pretty much followed the tutorial HERE.

After washing & drying my fabric it ended up only being 44" wide, not 45". And I don't own a serger, so i had to press and fold under my edges. The sheet fits a little tighter than i expected, but is still not too tight. I'll adjust my seams on the elastic "pocket" when i make the next one.


Last night and this morning, i took a little break from creating to do a little cleaning & organizing of my sewing space. The cabinet my sewing machine sits on was made by my grandfather in the 70's. He tried to throw it away (while in a decluttering mood), but I rescued it and brought it home. My sewing machine is as old or older than the cabinet- it was my mom's in high school when she had to take Home Ec- seriously, i think they should bring back the Home Ec/Auto Shop requirement in high school.

I added 2 sets of clear drawers on the left side. From bottom to top- all the baby items i've made so far; fabric that has been preshrunk; hot glue guns, glue sticks, and the cord for my mini iron; velcro, elastic, and other fasteners; thread, bobbins, needles, and pins. Then the box on top holds most of my 3/4" ribbon collection. The stack of fabric on the very top of that stack is what i'm currently working with. There's an extension cord that hides between the cabinet and the clear drawers so i can plug in my mini iron and hot glue gun.

The bottom drawer on the cabinet holds unwashed fabric. The middle has all my misc odds & ends, as well as my sewing machine extra parts. Then the top drawer holds ribbon that i've pulled out for projects and patterns that have been cut.

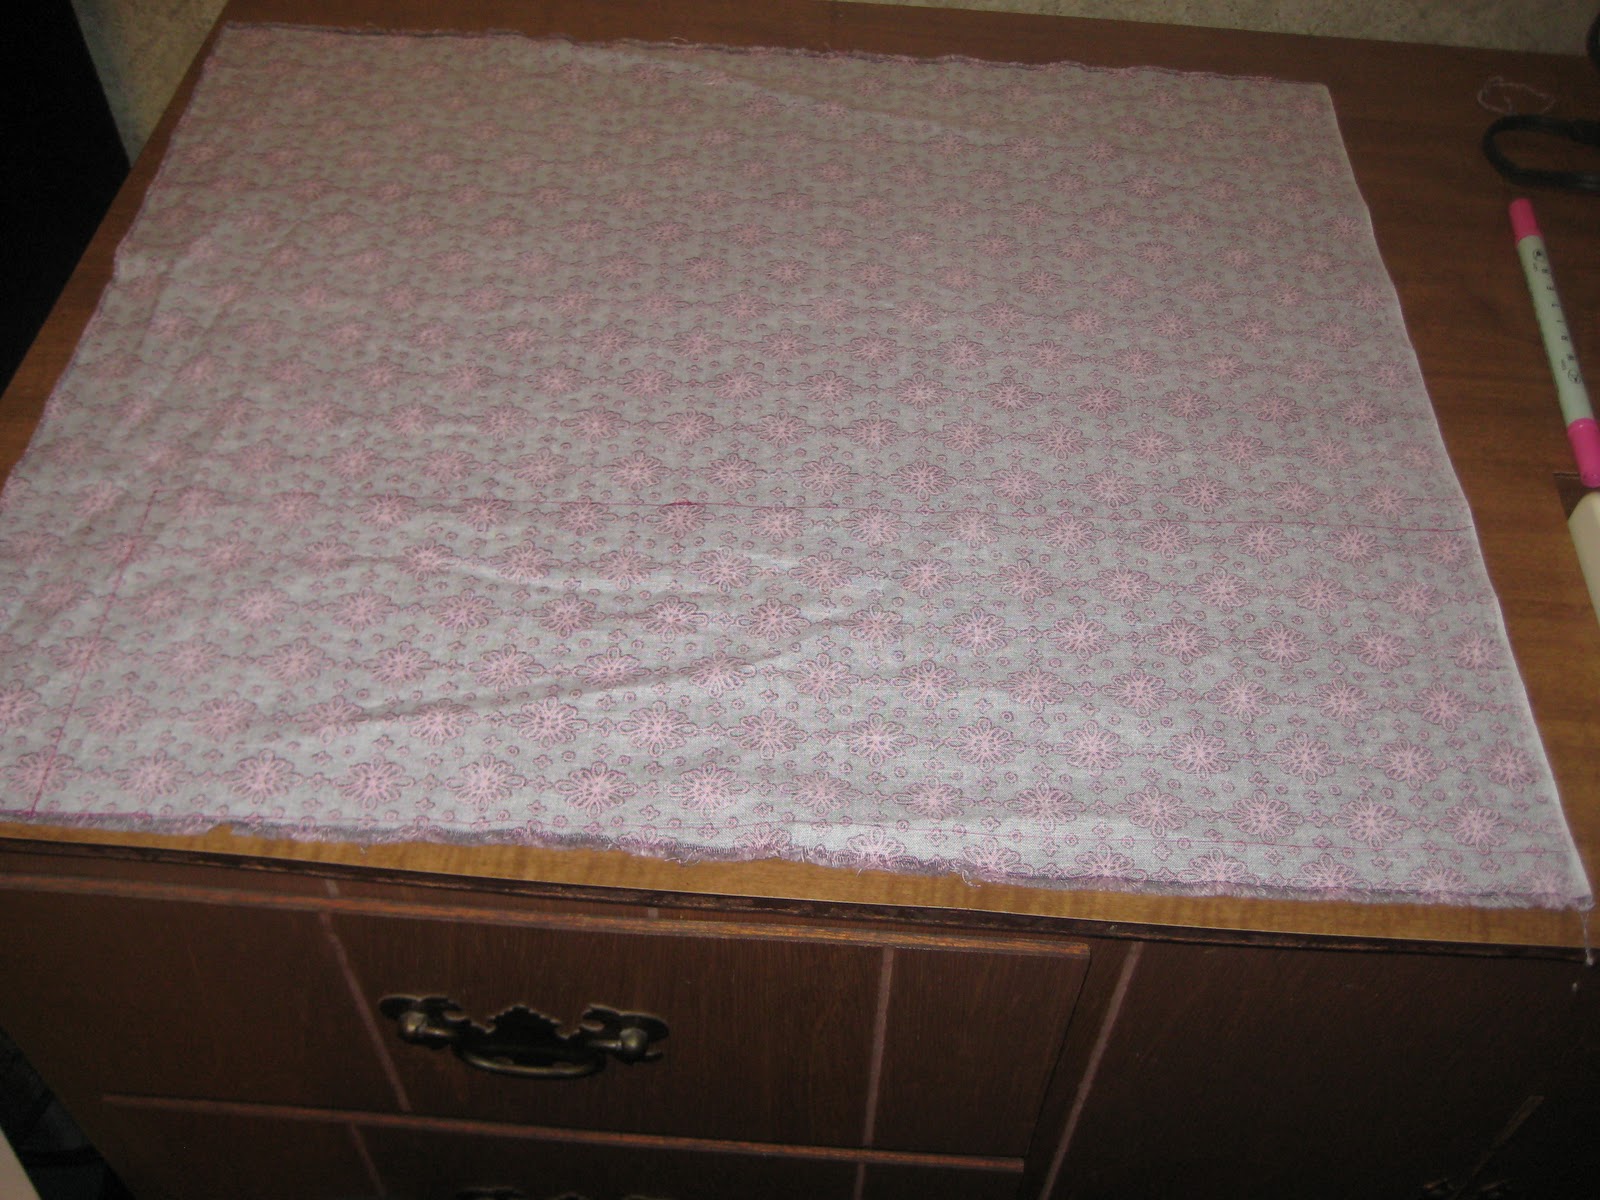
That's Merrick's crib sheet sitting on the cabinet top. :)

I keep one of my quilting grids hanging on the wall so i can grab it for quick measurements. The hanging baskets (from Ikea- used to be in my old kitchen) hold my scissor collection, pen/markers/pencil, tape (for taping patterns together, the lint brush for my sewing machine, my mini iron, and my pin cushion wrist cuff.
And then i have a magazine stand (holding skinny books and my notebook) and my other sewing books hiding behind my machine on the right corner.

I want to add a shelf or two above the hanging baskets. Then a mini ironing board (and a full size iron) to the right of the cabinet. I also thought it would be cool to hang a few towel bars above where the ironing board will be so that my de-wrinkled fabric stays that way.

I use our kitchen table (which is just left of where i stood to take this shot) to cut/ any large pieces of fabric.

I guess that's it for the tour of my sewing area. Off to play with the kids for a bit.

Wednesday, March 16, 2011

Boutique Wipe Case

Today's project #3- Boutique Wipe Case

Ok, I just love the way these look ( see HERE and HERE), but part of the reason i love the huggies wipe travel cases is because of the center par ton the lid that pops up so you can pull one out at a time without the whole stack coming out. So i started playing around and am so excited about the result.

The top
I made it to match the diaper clutch & zipper pouch i finished earlier today.

The bottom

View from the front

See, the top still opens up so you can pull out the wipes.

Diaper clutch and matching zippered bag

Today's project #1 - Diaper Clutch

I can't take credit for the design on this one. I used these tutorials HERE and HERE.
I actually started this yesterday, but then couldn't find my velcro to finish it. I did get to pick some up, but then got caught up with family stuff.
Finished the bag is close to 7"x11" and I easily fit 4- size 4 diapers inside of it.
And a little tip to remember, make sure you put the soft side of the velcro on the top flap, that way the diapers don't snag when you put them in or take them out of the diaper clutch. (and yes i made my this way)


Today's project #2- Zippered Pouch

I haven't sewn with a zipper in a REALLY long time- at least 12 years! WOW!
This pouch was really easy to put together. I prety much followed this little tutorial HERE, with the exception of cutting the zipper to fit the material, not the other way around. I was using scraps from the diaper clutch so the bag ended up being about 6"x4" when finished.
I'll keep this in the diaper bag for little things like butt paste, nail clippers, thermometer, etc...


Pretty matching set :)


Tuesday, March 15, 2011

Burpcloths from cloth diapers

Today's first project- Burpcloths

This style of burp cloth uses a premade cloth diaper and some fabric (cloth, flannel or maybe even minky).
I used on of the "Child of Mine" by Carters that I bought in a pack at Walmart.

First I washed both the fabric and cloth diapers- so that each was preshrunk.
Then i measured the center section of the cloth diaper.
Add 1" to both dimensions and cut a piece of fabric to that size.

Not sure if you can see the lines i drew on the fabric in this picture.
I used the selvage edge of the fabric and drew a line along the edge closest to me to make sure my fabric would actually be straight on all sides.

Lay right side down. Fold over 1/2" towards the wrong side of the fabric and press your seams.
I clipped the corners to keep them from being so bulky. I also pinned each corner and the center of the long sides to help hold the fabric in place while i pressed the fold.

Once your seams are pressed, lay fabric right side up on top of center section of cloth diaper and pin in place.
I really need to pay attention and pin in the direction i'm going to be sewing in- so that my pinheads face away from the needle.

Straight stitch 1/4" from edge of fabric.
Make sure neither top fabric or cloth diaper shift whiel sewing and keep stitching as straight as possible.

Instead of backstitching, I tied my thread ends together and then used a needle to put the ends inside the 2 layers of the burp cloth to hide them.

And there you go, a pretty burp cloth!


Friday, March 11, 2011

Baby Tights

Decided to squeeze in a little more sewing before bed. Mostly i was just waiting for the nightly heartburn to kick in so I could drink a glass of milk. And the timing was pretty good. LOL!

Third project of the day- Baby Tights

Found the TUTORIAL and pattern on the blog Made by Rae
I had some scrap jersey fabric. Don't think it's really what i should have used for these, but it worked for a test run. I think they turned out a little small- maybe more newborn than 3-6 month. But as i have no baby to try them on at the moment, i'll just have to wait and see. I also want to use a stretchy thread next time. The cotton thread i have doesn't have much stretch to it and i'd hate for the seams to rip. The stitching around the crotch got a little messy and bunched up (i was arguing with my machine). But these are way cute!


I also whipped up 2 more pairs of the baby leggings I posted about earlier. Even with having to stop half way thru sewing the cuff on the 3rd legging, i finished both sets in 10 minutes. :) This time for the bottom cuffs... I used a longer strip on material. And instead of just cutting up the side seam, I folded the pieces in half twice (once each direction) and cut off a piece at an angle. This way the cuff is smaller at the bottom than where it attaches to the leggings.


All together now...


Time for bed! It's been a very productive day!

Washcloths

Second project of the day- Washcloths

I just cut some 8.5" squares of flannel and terry cloth. Put them wrong sides together and zig-zag stitched the edges, leaving room to turn. Trimmed corners. Turned right side out, pressed the seams. Then added 2 rows of wonky top stitching to seal the opening and help the washcloths keep their shape during use. They turned out awesome! Much better than the single ply teeny-tiny washcloths you usually find for babies. I'm planning on making a matching hooded towel, but i don't have enough terry cloth right now. Picked up a .75 yd scrap out of the clearance bin at Hobby Lobby (for $1.00) to play around and made these. If i can find a girly monkey print flannel I like, then i'll make another washcloth & towel set out of that too. Also, i think my older boys want their own "momma made" washcloths now.


Baby Leggings

Today's first project- Baby Leggings

I made these with a pair of ladies knee high socks. I googled and read through a few tutorials, like THIS ONE. And also read that they tend to be a little long on infant legs, so I cut the sock a little ways above the heel to shorten the leggings. And used the rest of what was left going to the heel as my cuff piece. I don't think i'll do that again, as the short cuff piece was a little difficult to handle while attaching to the legging (at least on my machine). 

Curious Cupcake watching the bobbin wind


This shows how i cut the sock up. The foot piece ended up getting the heel & toe cut off so Merrick could wear his own arm cuffs and leave mommy alone to do the sewing (kind of)


I cut the cuff parts along one side and then used a zig zag stitch to sew them back together- so the cuff would be smaller around than the legging.


Here's one of the cuffs after being sewn back together.


Folded the cuff in half- next time i will make them taller than this.


Turned the legging inside out and inserted the cuff. I added a few pins since the cuff was so short.
No pins used on the second cuff.

Then i just ran them through my machine- stretching the cuff slightly, since it's smaller around than the legging.

And tada... finished leggings. I did have a bit of a problem with the legging material getting stuck in my pressure foot, so my seams weren't the prettiest. But i know they'll hold and no one will really be staring at these seams once they are on cute little baby legs. I'll remember all my little tips to make them better next time around.


And of course, Merrick wanted to model them for mommy- only he had to use them as arm warmers.


And this is Merrick trying to escape from Mommy so he doesn't have to take them off. I'll have to make him a pair in slightly more boyish colors (as daddy wouldn't be too happy about the hot pink leopard print).
Now they are sitting in the stash of things for Trinity. :)

And seriously... it took longer to type this post & upload the photos than it did to make them... even with all of Merrick's little distractions.

Off to clean and eat lunch before my afternoon meeting at the school.

Friday

Today at 3pm, Spring break begins. While I won't be dragging my kids out of bed at 6:30am, i'll still be getting up between 4 & 5am to drag my hubby out of bed and get him off to work. While i'm sure my MIL will kidnap the boys at some point next week for some grandma fun, we don't really have any Spring Break plans... other than cleaning & organizing. Trying to get a few steps ahead while i have extra hands in the house.

I started taking photos of the meals i prepare for myself, kind of a visual food diary. I have two main motivations to do this... if i have to post a pic for the world to see (cause i started posted on FB) then  #1- i'll probably eat a little better than i have been. #2- i'll put a little more luv into my food.

After two weeks of flu & strep running through my house, i'm really trying to make these last 15 weeks of my pregnancy as healthy & productive as possible.

So here we go...